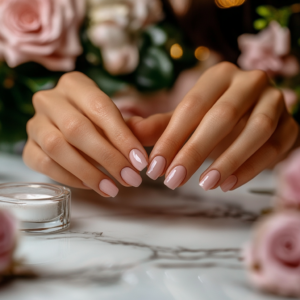
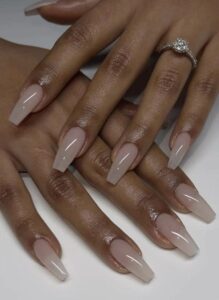
Remember those stick-on nails from childhood that would pop off before you even finished showing them to your friends? Well, times have changed! Today’s press-on nails have undergone a serious glow-up, and they’re taking the beauty world by storm.
As someone who’s spent countless hours perfecting the art of at-home manicures, I’m thrilled to share everything you need to know about achieving salon-worthy nails from your living room.
Why DIY Press-On Nails Are Having Their Moment
Let’s be honest – we’re all looking for ways to save time and money without compromising on style. That’s exactly why press-on nails have become the go-to solution for beauty enthusiasts everywhere. Instead of spending hours at the salon (and a small fortune), you can achieve professional-looking nails while catching up on your favorite Netflix show.
The benefits go way beyond just saving money. Today’s press-ons come in an endless array of designs that would cost a fortune to recreate at the salon. Plus, you can switch up your look whenever you want without waiting for your natural nails to grow out or dealing with damaging removal processes.
Whether you’re a busy mom, a professional always on the go, or someone who loves experimenting with nail art, this guide will help you master the art of press-on nails.
Getting Started: Your Press-On Nail Arsenal
Think of preparing for press-on nail application like getting ready for a mini spa day. Having the right tools makes all the difference between nails that last two weeks and ones that pop off before dinner. Here’s what you’ll need in your DIY nail kit:
Essential Tools & Products
The Basics
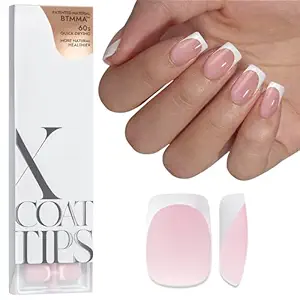
BTArtboxnails XCOATTIPS French Tip Nails – Short Press On Nails, 160 Pcs Pink Square Soft Gel Nail Tips Pre-applied Tip Primer & Base Coat, No Need File False Nails for Gift, 16 Sizes
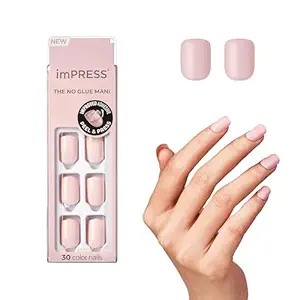
KISS imPRESS No Glue Mani Press On Nails, Color, ‘Pick me Pink’, Pink, Short Size, Squoval Shape, Includes 30 Nails, Prep Pad, Instructions Sheet, 1 Manicure Stick, 1 Mini File

5 pcs KDS Nail Tip Glue – Adhesive Super Bond for Acrylic Nails Tips – 0.07 oz for Each Glue
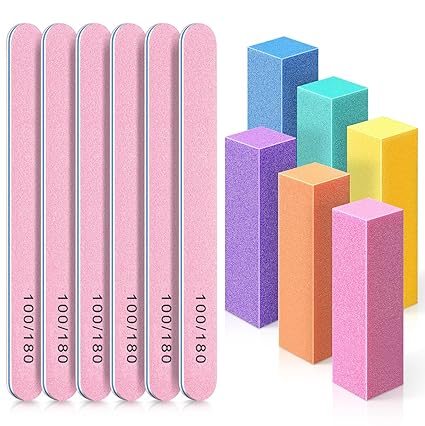
TsMADDTs Nail Buffers and Files, 6PCS Buffer Blocks, 6PCS 100 180 Grit Files, Professional Manicure Tools Kit, Nail Care Tools Kit for Women
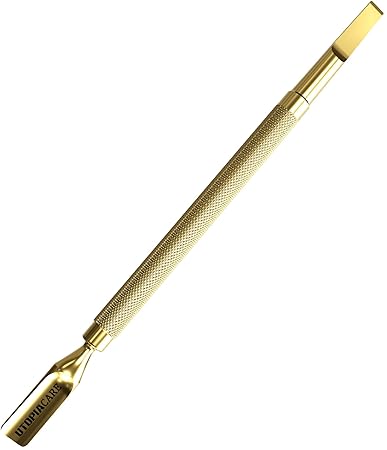
Utopia Care Cuticle Pusher Tool and Spoon Nail Cleaner – Professional Grade Stainless Steel Cuticle Remover and Cutter – Durable Manicure and Pedicure Tool – for Fingernails and Toenails (Gold)

Professional Manicure Scissors, EBANKU Vintage Stainless Steel Cuticle Precision Beauty Grooming for Nail, Facial Hair, Eyebrow, Eyelash, Nose Hair (Bronze)

2 Pcs Nail Clipper Set, Stainless Steel Fingernail Clipper for Adults, Small Gift, Christmas Stocking Stuffers (Gold)
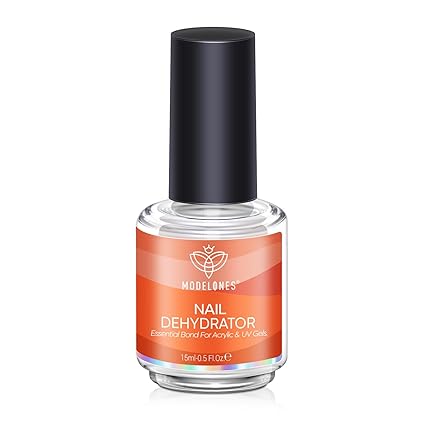
Modelones Nail Dehydrator, 15 ml Nail Dehydrator for Acrylic and Gel Polish

Modelones Gel Nail Polish Top Coat, 15ml No Wipe, High Gloss Shiny Long Lasting Top Gel for Clear Nail Gel and Acrylic Nails, for Home DIY and Nail Salon

Modelones Builder Nail Gel, 7-in-One Clear Builder for Nails, LED Lamp Cured Color Base Coat Strengthener Thickening Extension Rhinestone Glue Gel Polish in a Bottle for DIY Home Salon Gifts
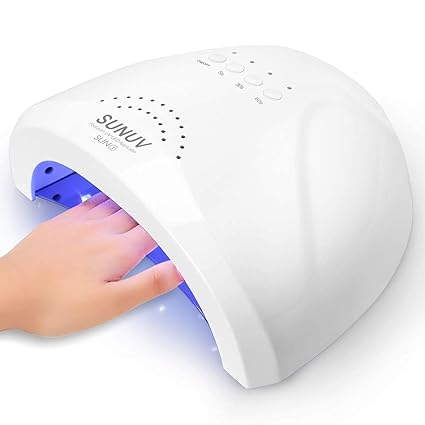
UV LED Nail Lamp, SUNUV Gel Light for Nail Polish 48W UV Dryer with 3 Timers SUNone White
Nice-to-Have Extras

MelodySusie Portable Nail Drill 30000 RPM,SC320F Professional Rechargeable Electric Nail File,Cordless Nail E File for Acrylic Nails Gel Polishing Removing,Efile Nail Kit for Manicure Salon Home,White
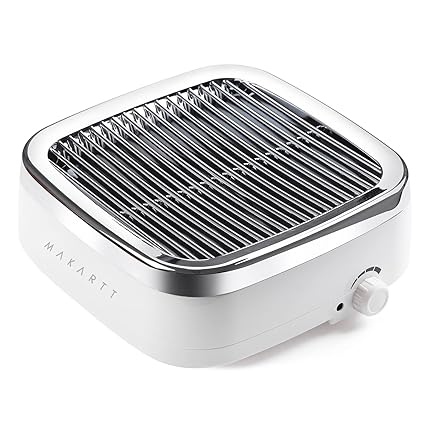
Makartt Nail Dust Collector – 60W Extractor Vacuum Dust Collector for Nails Acrylic Nail Drill Dust Extractor Beauty Gift Nail Salon Equipment with 2 Powerful Nail Fan MK200
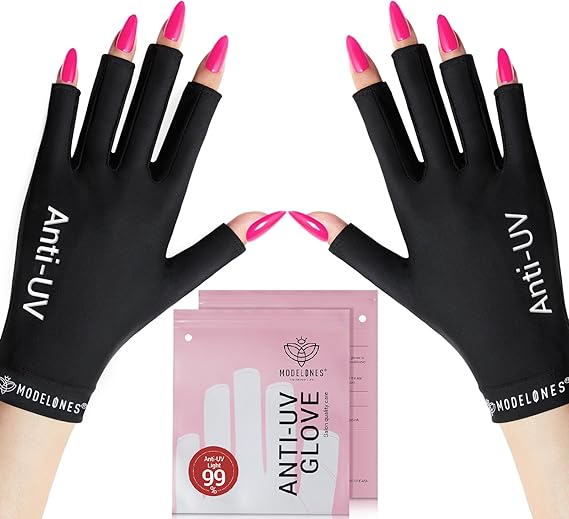
Modelones UV Gloves for Gel Manicures, Professional UPF99+ UV Protection Gloves for Nails, Fingerless UV Light Gloves for Women, Anti UV Gloves for Gel Nail Lamp, Protect Your Skin from UV Harm

Cuccio Naturale Revitalizing- Hydrating Oil For Repaired Cuticles Overnight – Remedy For Damaged Skin And Thin Nails – Paraben /Cruelty-Free Formula – Milk And Honey – 2.5 Oz
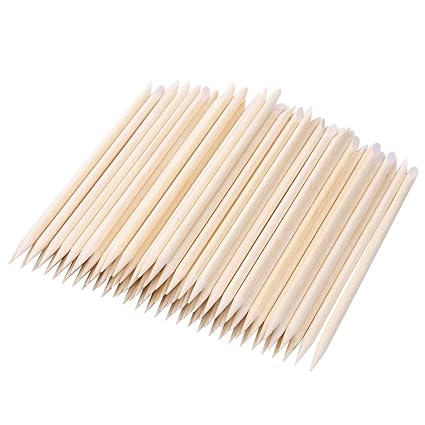
BTYMS 300 Count Orange Wood Stick 4.5 inch Cuticle Pusher Remover Orangewood Cuticle Sticks Nail Art Manicure Pedicure Sticks Orange Sticks for Nails

Sally Hansen Advanced Hard as Nails™, Clear Nail Strengthener, Includes Retinol and Nylon, Nourishing

Teenitor Nail Art Kit Nail Art Tools, Nail Design Kit with Nail Art Brushes, Nail Tape Nail Gems Rhinestones, Nail Dotting Tools Nail Foil, Butterfly Nail Design Tools for Nail Art Supplies
Choosing Between Nail Glue and Adhesive Tabs
This is like choosing between a permanent marker and a sticky note – each has its place! Nail glue offers maximum staying power (up to two weeks with proper application), making it perfect for long-term wear. However, adhesive tabs are gentler on your natural nails and ideal for one-night events or if you like changing your look frequently.
The Step-by-Step Guide to Flawless Application
Step 1: Prep Like a Pro
Remember this golden rule: nail prep is 80% of the success of your press-on manicure. Here’s how to create the perfect foundation:
- Start with clean nails, removing all traces of old polish or oils
- Trim and shape your natural nails, keeping them short for better adhesion
- Gently push back your cuticles (think of it as creating a clean canvas)
- Lightly buff the surface of your nails – you’re aiming for a slight texture, not a deep scratch
- Use your nail dehydrator or alcohol wipe to remove any remaining oils
Step 2: Size and Customize
Think of this like trying on shoes – the right fit is crucial! Lay out all your press-on nails and match them to your natural nails before starting. It’s better to go slightly smaller than larger, as overlapping can lead to lifting.
Pro tip: If a nail is almost perfect but slightly too wide, gently file the sides rather than choosing a smaller size. This helps maintain the natural curve that matches your cuticle line.
Step 3: The Application Process
Now for the exciting part! Whether you’re using glue or adhesive tabs, here’s how to ensure maximum longevity:
For Nail Glue Users:
- Apply a small drop of glue to your natural nail
- Add an equally small drop to the press-on nail
- Press firmly in place, starting at the cuticle and rolling forward to avoid air bubbles
- Hold for 30 seconds (yes, actually count it out!)
- The next steps are optional but really help to make your nails look more professional. Add 1-2 layers of builder gel on top of your press on nail, curing in between to harden the overlay.
- Finish off with a layer of top coat gel, curing as instructed on the product.
- Top your nails off with cuticle oil.
For Adhesive Tab Users:
- If the nails come pre-tabbed, you’ll just need to remove the protective film. If not you’ll add the tab directly to your natural nail and then remove the film
- Use a hair dryer on low heat to warm up the adhesive
- Carefully align the press-on nail with your cuticle
- Press down firmly from center to edges
- Apply pressure all over the nail surface, hold for 30 seconds (each nail)
Pro Tips for Maximum Longevity
Want to know the secrets to making your press-ons last as long as possible? Here are some game-changing tips I’ve learned through trial and error:

The Glue Technique
Think of nail glue application like decorating a cake – less is often more. A thin, even layer will cure better than thick globs that can create air pockets. I’ve found that applying glue in an “X” pattern on the press-on nail provides the best coverage without excess.
When using adhesive tabs, I’ve just recently started heating up the glue tab for a few seconds with my hair dryer before applying the nail. Believe it or not, my last set lasted me a full week! Through an entire week of washing dishes and giving baths, I never even lost a nail. Heating the glue tabs was a game changer.
Edge Sealing Secret
Here’s a trick that changed my press-on game forever: after application, apply a thin layer of clear top coat polish (not gel!) around the edges where the press-on meets your natural nail. This creates a water-tight seal that prevents lifting and extends wear time significantly.
Secret To Getting That “Acrylic” Look
Let’s be honest, nobody wants a thin flimsy press on nails. One trick that I’ve learned is adding 1-2 layers of builder gel (and curing) on top of the press on makes it thick and sturdy. When I do this my nails easily last 2 weeks at a time.
Daily Maintenance
Treat your press-ons like an investment. Wear gloves when doing dishes, apply cuticle oil daily, and avoid hot water for the first few hours after application. If you notice any lifting, don’t wait – a tiny dot of glue can prevent a full pop-off.
Common Mistakes to Avoid
We all make mistakes, but here are some common ones you can learn from without experiencing them firsthand:
- Skipping the Dehydrator: This is like painting a wall without primer – it might look fine at first, but it won’t last
- Using Too Much Glue: This creates a thick layer that actually weakens the bond
- Improper Sizing: Using nails that are too large or small compromises both appearance and longevity
Rushing the Process: Each nail deserves its full 30 seconds of pressure for proper bonding
Safe Removal and Natural Nail Care
When it’s time for a change, resist the urge to peel or force the nails off! Here’s how to remove them safely:
Soak-Off Method
- Fill a bowl with warm water and add a few drops of cuticle oil
- Soak fingers for 10-15 minutes
- Gently work the press-ons loose from the sides
- If resistance is met, continue soaking
Post-Removal Care
- Apply cuticle oil generously
- Give your natural nails a break if needed
- Use a strengthening treatment if your nails feel weak
Product Recommendations
While everyone’s needs are different, here are some of my tried-and-true favorites:
Press-On Nail Brands
- Static Nails for luxury and reusability
- Kiss Impress for drugstore convenience
- Clutch Nails for trendy designs
Nail Glues
- NYK1 Super Strong for maximum durability
- Kiss Maximum Speed for quick application
- Nailene Ultra Quick for sensitive nails
Frequently Asked Questions
Q: How long do press-on nails typically last?
A: With proper application, nail glue can last 1-2 weeks, while adhesive tabs typically last 3-5 days, if you use my heated trick (mentioned above) you can stretch the adhesive tabs for about 1 full week.
Q: Can I reuse press-on nails?
A: Yes! Many brands are designed for reuse. Just clean off the old adhesive carefully and store them properly.
Q: Is it safe to shower with press-on nails?
A: Yes, but wait at least 2 hours after application. Hot water can compromise the initial bond.
Your Turn to Shine!
Congratulations! You’re now equipped with everything you need to create beautiful, long-lasting manicures at home. Remember, like any skill, applying press-on nails gets easier with practice. Don’t be discouraged if your first attempt isn’t perfect – we’ve all been there!
Why not start your press-on nail journey today? I’d love to hear about your experiences and any tricks you discover along the way. Drop a comment below sharing your favorite press-on nail looks or questions you still have.
Ready to save this guide for later? Pin it to your beauty board or share it with a friend who’s been curious about trying press-on nails. Doing your own nails at home is such a fun and girly way to practice self care!
Remember: You don’t need to be a nail tech to have beautiful nails – you just need the right tools, techniques, and a little patience. Happy nail styling!


Leave a Reply